Iron on Transfer Directions
You may purchase my iron on transfers on ebay. I also sell onesies that already have the transfer on them. These make a great gift or something unique for your kids or dolls.
First, make sure you get the correct type of transfer. Light for light-colored fabric, such as white. And dark for colored fabrics.

.jpg)
.jpg)
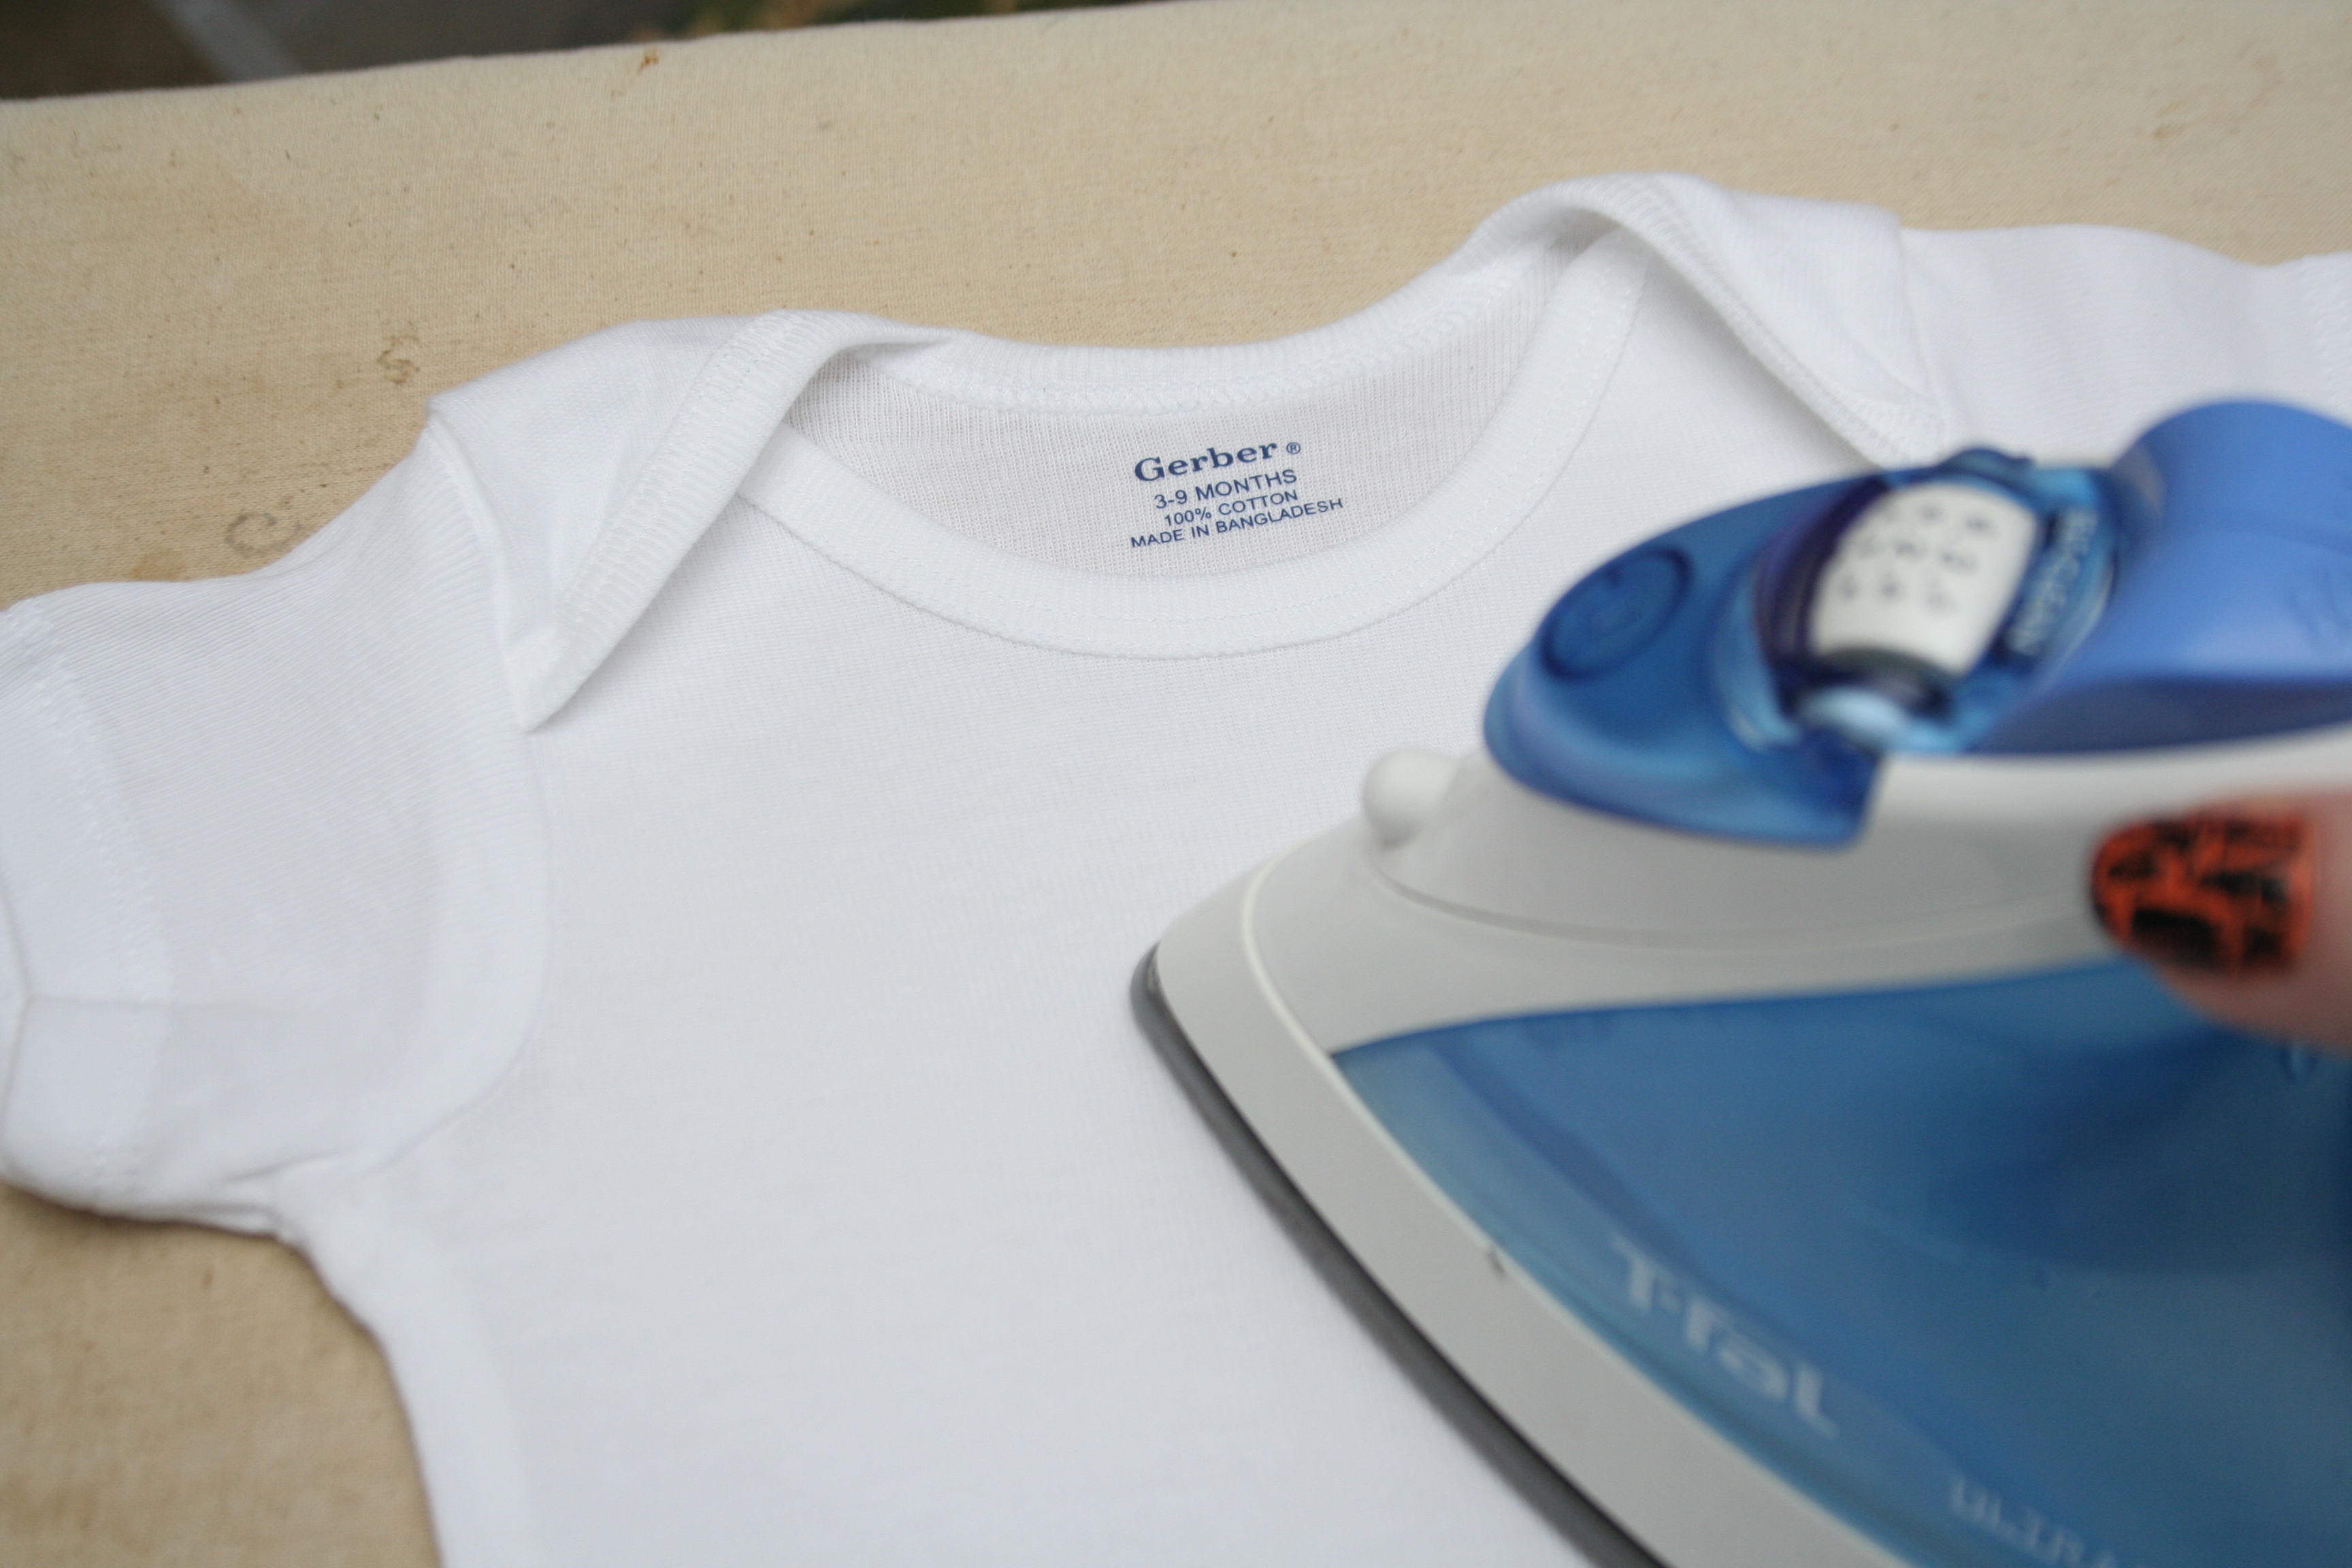
1. First iron the garment or fabric to get all the wrinkles out. Do not use steam!

2. Cut out the transfer as close to the image as possible. If you leave a lot of the blank transfer on, it will not look good. It may yellow.
First, make sure you get the correct type of transfer. Light for light-colored fabric, such as white. And dark for colored fabrics.

.jpg)
.jpg)
light transfers
These are the directions for LIGHT fabrics, using the iron on transfer specifically for light fabrics. Make sure you follow the directions carefully and be patient so that you don’t end up with something like this:1. First iron the garment or fabric to get all the wrinkles out. Do not use steam!
2. Cut out the transfer as close to the image as possible. If you leave a lot of the blank transfer on, it will not look good. It may yellow.


3. Use a ruler to measure where to put the transfer. I line up the edge of the ruler with the edge of the sleeve where the armpits would be. You don’t have to use a ruler, you may eyeball it if you prefer. Find the center of the shirt, line up the transfer in the center of the shirt, placing the transfer face down, so that the image is against the fabric, and the paper backing is what you see. * Note: Use a table and ironed pillowcase or similar underneath. Do not use an ironing board unless it is very stiff.*

4. Carefully move the ruler out of the way, making sure not to move the transfer. Using the highest heat setting, carefully place the iron onto the entire transfer and press. Count a few seconds, then lift up the iron so as not to move the transfer, then put it back down in a slightly different place and continue counting. This is to help keep it from burning the fabric by having it in the same place for so long. Do not move the iron as you are pressing, as it may smudge the transfer. **You may want to put a press cloth or parchment paper down to protect the fabric while ironing. I count to 20 seconds and it works for me. Your iron may be hotter or cooler, so you may want to try different times to see which works best. I include a little transfer to practice on to prevent messing up.
5. Go get a cup of tea or coffee, or do something for a few minutes to let it cool. If you are impatient and remove the paper before it is completely cool, it will ruin the transfer, taking part of it off. When it is completely cool, then carefully lift the paper backing off.

***For better bonding, after removing the paper backing, I also use a piece of parchment paper and iron over the transfer again. I also use the parchment paper to protect the garment.***


Dark transfers
For DARK transfers, everything is the same except:1. you will be peeling the paper backing off BEFORE you iron it on
2. you will be placing the image side UP instead of down.
3. you will be using an iron sheet, which is parchment paper (included in your purchase) on top of the transfer. Make sure you practice with the small transfer included so that you know how long to iron. I first ironed mine for 30 seconds, and it caused the fabric color to bleed into the transfer. I then ironed it for 20 seconds and it worked fine. Sometimes it only takes 10 seconds, depending on how hot the iron is.
So . . .
Step 1. First iron the garment or fabric to get all the wrinkles out. Do not use steam! Let the garment cool before putting the transfer on.
2. Cut out the transfer as close to the image as possible. If you leave a lot of the blank transfer on, it will not look good.


3. Take the paper backing off. If it’s difficult to remove, first gently and carefully tear the backing in one section, then it is easier to remove.

4. Place the transfer image side up where you want it. Cover it with the iron sheet (parchment paper).

5.**You may want to put a press cloth or parchment paper down to protect the entire fabric while ironing. Using the highest heat setting, carefully place the iron onto the entire transfer and press. Count a few seconds, then lift up the iron so as not to move the transfer, then put it back down in a slightly different place and continue counting. This is to prevent dots where the iron has holes on the bottom of it. Do not move the iron as you are pressing, as it may smudge the transfer. I count 10-20 seconds and it works for me. Your iron may be hotter or cooler, so you may want to try different times to see which works best. I include a little transfer to practice on to prevent messing up. If you heat it too long, it will yellow and may cause the fabric to bleed into the transfer.
And you’re done!
For washing, remember to turn the garment inside out, wash with cool water, dry on low heat, remove promptly, and do not iron over the top of the transfer, as it will smudge it.
